

A Complete Beginner’s Guide to Miniature Painting – Part 1: The Tools
So you finally decided to go the extra level in your games and want to dive into miniature painting? This guide might help dive into the hobby!

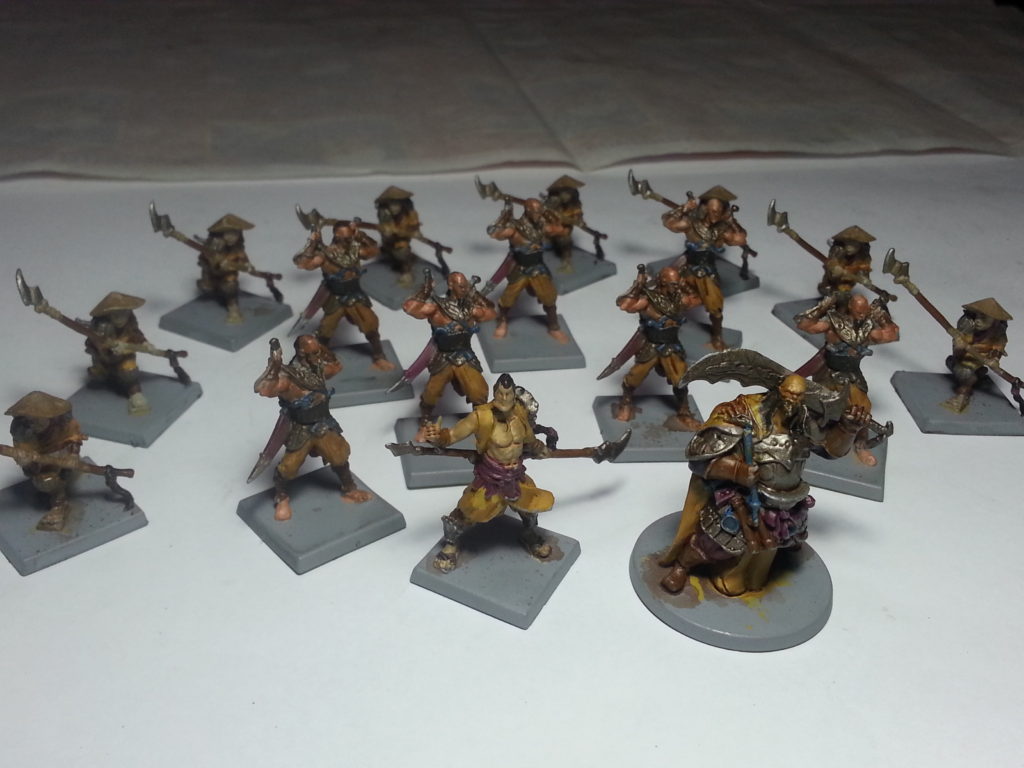
So you finally decided to go the extra level in your games and want to dive into miniature painting? Well if you’re like me who has a lot of boardgames with sad, unpainted figures and want to give more life into it but don’t know where to start… This guide might help dive into the hobby and who knows? You might even find it quite enjoyable and relaxing, as I did recently.
Bear in mind that I am not an expert painter by any means, as I have only painted a handful of minis and is currently working on finishing the figures for Blood Rage – The reason that pushed me to doing this actually (Bless and curse you CMON and Eric Lang!). This is not a be-all-end-all article but rather a total newbie’s guide that is merely my journey into the hobby in which I would like to share to fellow beginners who are afraid to take the plunge or don’t know where to begin… since it can really be overwhelming!
So with that out of the way let’s do this systematically and go with the basics – Getting the right tools of the trade!
Here’s what I think are essential to every painter’s arsenal. You can find most of them at your local hobby, hardware and friendly local game stores.

Brushes
What I learned from my local hobby store that there are 2 classifications of brushes – “Synthetic” and the ones that use real hair. The latter can be quite expensive so I just went with a synthetic brush set made by Vallejo. The set has 3 brushes; the largest one (A no. 002 Brush) is used for base-coating, the small one (No. 001) for highlighting/layering and the smallest one (No. 000) for those ultra-fine details such as the eyes. I also got a big, cheap flat brush for dry-brushing (More on those techniques on a future article).
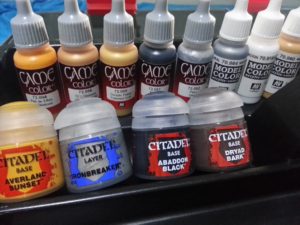
Paints
One of the most important decisions when starting out! There are a large variety of acrylic paint brands to choose from, and preferences may vary from one painter to another. I started with 2 brands initially – Games Workshop’s Citadel pots and Vallejo’s Game Color and Model Color line. I’ve heard great things about Reaper Mini and Privateer Press (P3) paints but I have yet to try those.
My collection of games tends to be on the fantasy genre, so aside from getting the basic colors of the spectrum – black, white, green, red, blue, yellow, and brown, I also stocked up on colors such as gold, silver and bronze, since most of the minis have armors and shields. Different shades of flesh are also not a bad idea.
From your initial set you can then mix them up or get additional colors as needed.
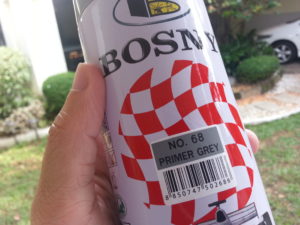
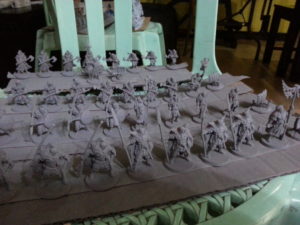
Primer
For this I’m using Bosny’s primer grey spray paint can for 2 reasons, first that it’s generally cheap and gets the job done and second is that it is faster to prime a whole set of minis using this method. There are also other brands like Rustoleum and Krylon that you might want to check out as well. For a much brighter result you might want to go with white primer and alternatively, black primer for a darker finish.
Some might go with the brush on primer approach (especially when getting to those stubborn spots), might try it next time but for now this is the one I use.

Washes
For washes I used Vallejo dark brown and a blue wash for grey armors. I have yet to try the blue one but brown normally does the trick for most of my work.

Sealers/Varnish
After painting you most certainly want to protect your work of art, and sealers/varnish will do the trick. Like primers they come in both sprays and brush-on approaches. I’m leaning towards the former since they are fast to apply and dry, but either method works fine. There are generally 3 types of finish – Matte, glossy and satin. If you want a result that’s somewhere in between or is unsure of what to use, go with satin. For me, I don’t want my figures to looks shiny or oily (unless you are painting wrestling minis!) so I tend to go with matte.
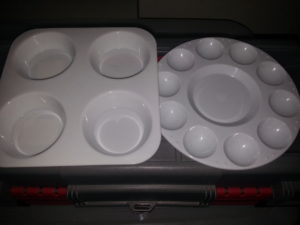
Dry and Wet Pallete
Very cheap and can be found on most hobby stores. This is where you will mix and dilute/thin your paints. A wet pallete on the other hand is another alternative if you don’t want your paints to dry up easily or want to store it for future use, it can be easily achieved by placing parchment paper on a plastic container with a small amount of water, covering it when not in use.
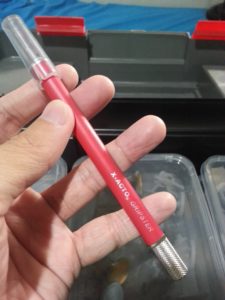
Hobby Knife
I use the very dependent X-Acto knife found in most hobby and book stores. For a cheaper alternative, a regular cutter can suffice. There are used in removing excess plastic (flashes) that is usually present in most production models.
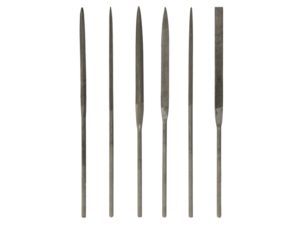
Hobby Files
An alternative to a hobby knife in removing flashes, this tool can reach areas in the figure that the former normally can’t. Another approach is using sandpaper.
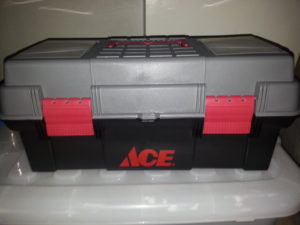
ToolBox
I got this on sale at a local hardware store. It serves a good and sturdy container for storing all my paints, tools and miniatures.

Other Household Items
Commonly used household stuff like a desk lamp, magnifying glass, newspapers, plastic containers, water cups, dishwashing soap, a toothbrush, popsicle sticks, bottle caps (for mounting minis with tape), paper towels, even used eye droppers will most certainly come in handy when painting. You might want to consider a small notebook as well for noting mixed paint colors or jotting down handy techniques you might have stumbled upon.
And there you have it! The next part of this article focuses on prepping the miniatures before painting. Any particular item I might have missed? Hit us in the comments as I’m sure there as some stuff I didn’t mention… But for now I think this should get you going. Click here for the next installment – Preparing the minis! Till next time, everyone! Keep on gaming!