

It’s Halloween! Are you excited? Are you still looking for something to wear? Well, we here at UnGeek can definitely help you get ready! Today we’ll help you transform into a virtual pop superstar with this step-by-step Hatsune Miku cosplay headset tutorial!

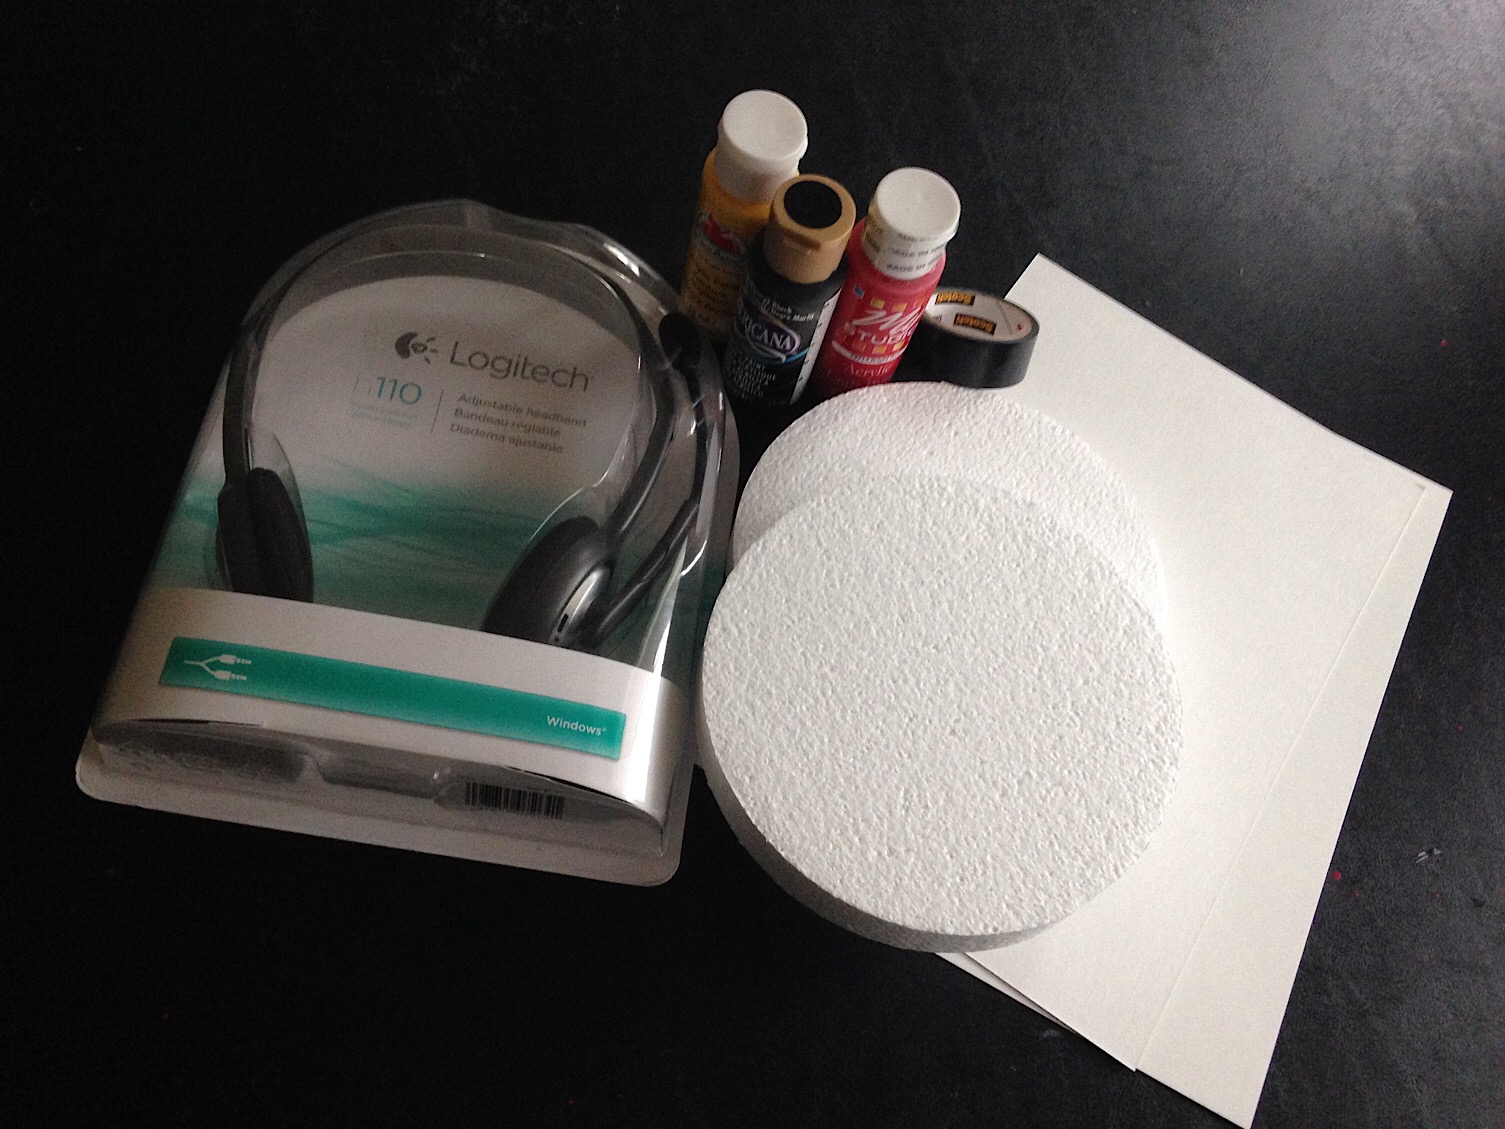
You will need:
- one (1) headset with microphone
- styrofoam boards
- white poster board (illustration board works fine too)
- black plastic or electric tape
- black, red and yellow acrylic paint
- clear coat acrylic spray paint
- a hobby knife or cardboard cutter
- a glue gun and oodles and oodles of glue
Let’s get to work, shall we?
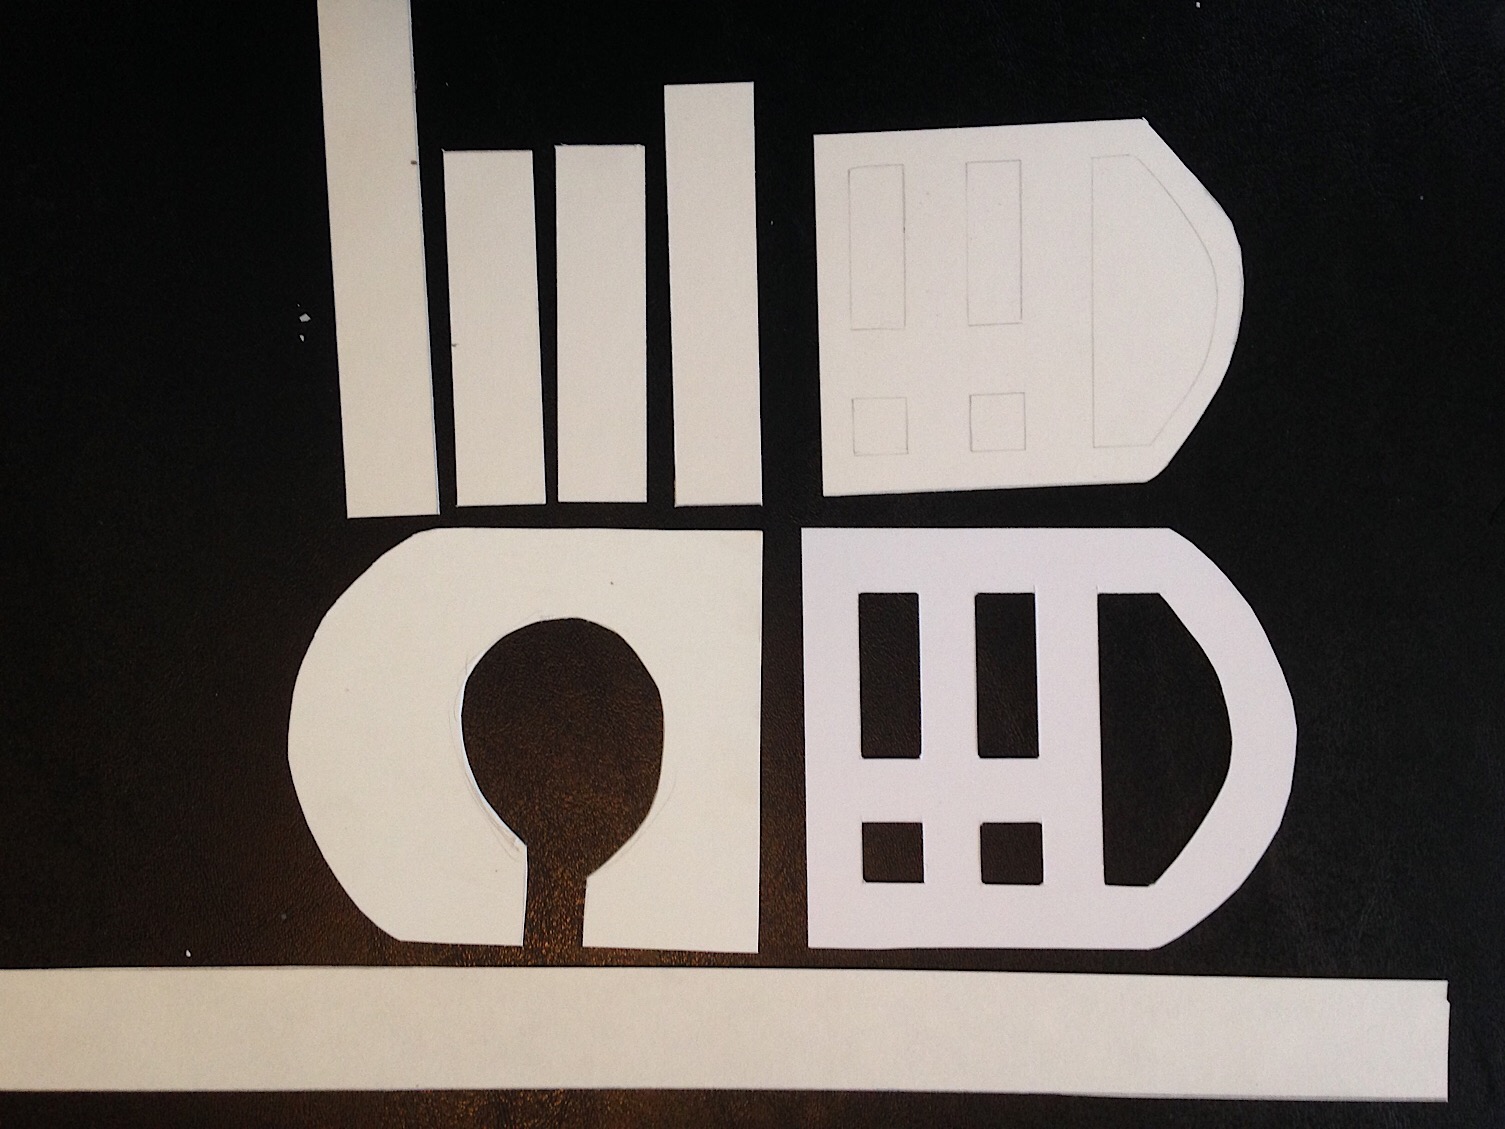
- Each ear piece panel is basically a rectangle with one rounded end. Draw 3 pieces of this shape out on a poster board.
 One piece will be the base of the front panel (let’s call this piece 1a). Draw small rectangles and one partial circle on this piece and color according to the following picture. Trim this piece by about 1/8″ around the edges.
 The second piece will be the outer layer of the front panel (now called piece 1b). Draw the same pattern on this piece same as the first step, except that this time you will cut out these shapes instead of coloring them in. After cutting out the smaller pieces, color this shape black.
The third piece will be the layer for the inside of the ear piece (piece 1c). Trace the outline of the headset’s ear piece on this and cut it out. Color the resulting shapes black.
- Draw 4 rectangles on a poster board. These 4 rectangles will be the edges of the ear piece, so you will need one rectangle each for the top, bottom, front and back of the ear piece. Color these black.
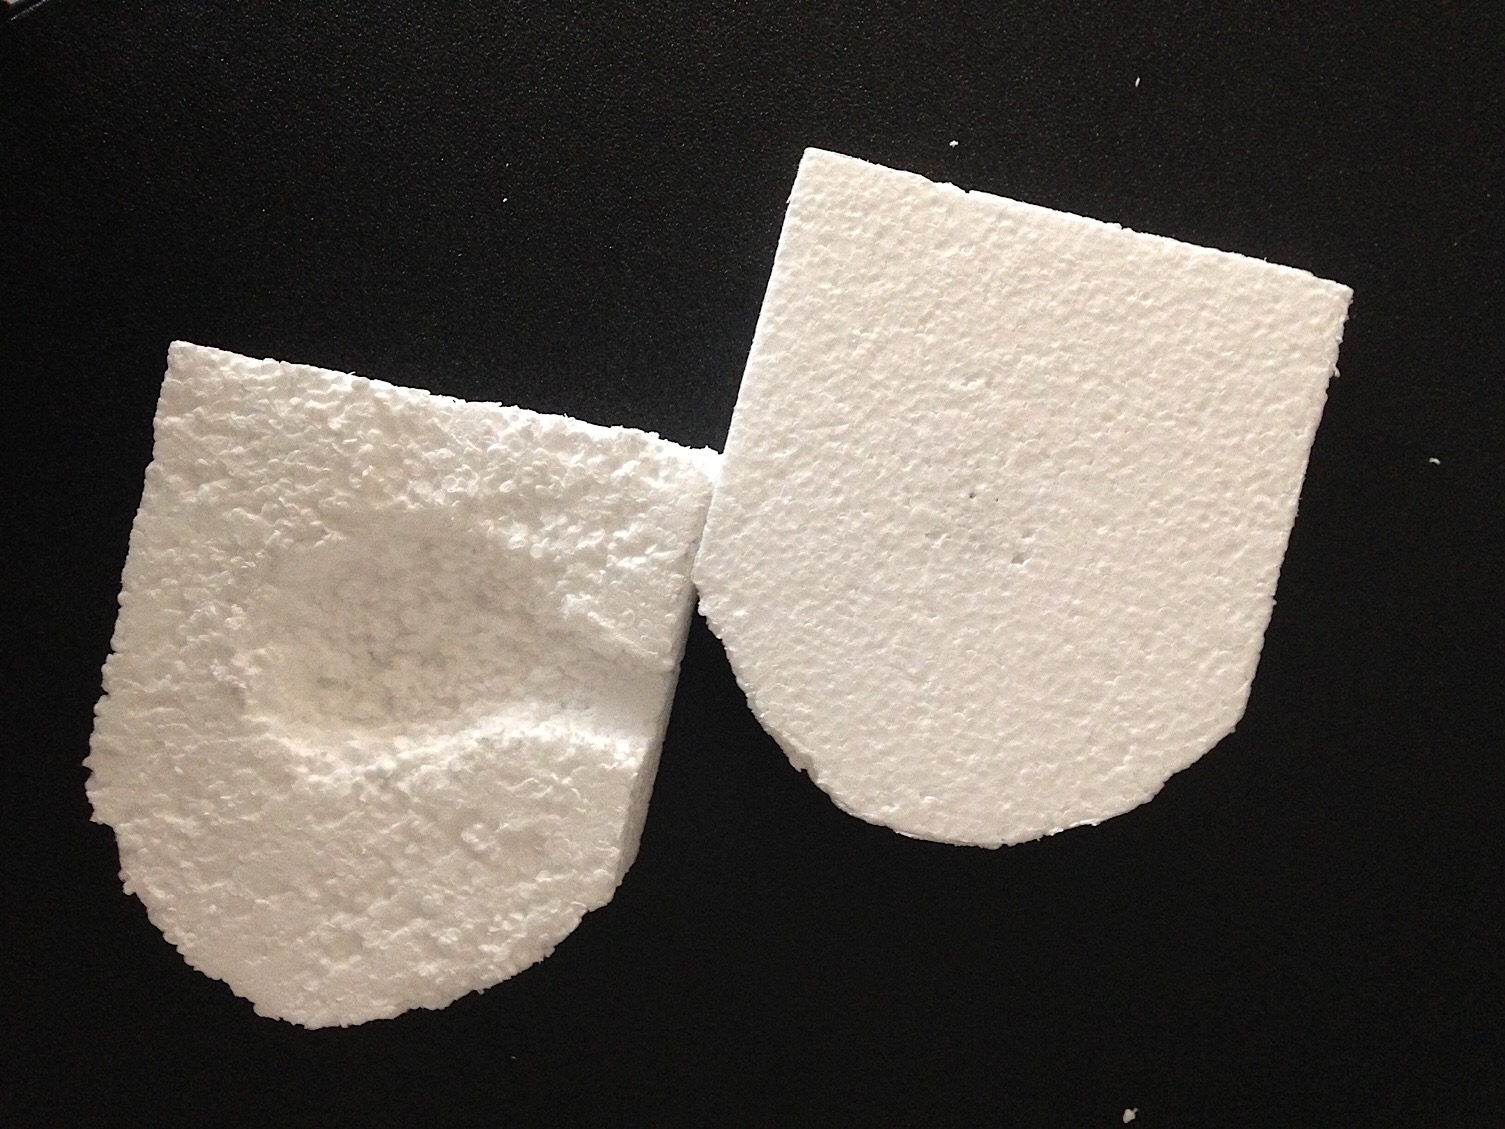
- Draw the ear piece shape from step 1 on a styrofoam board.
- Trace the headset’s ear piece on the styrofoam board. Carefully carve out this shape using the hobby knife, taking care not to cut through the entire piece. You will also want to preserve the spherical shape of the ear piece, i.e. deeper in the middle compared to the edges.
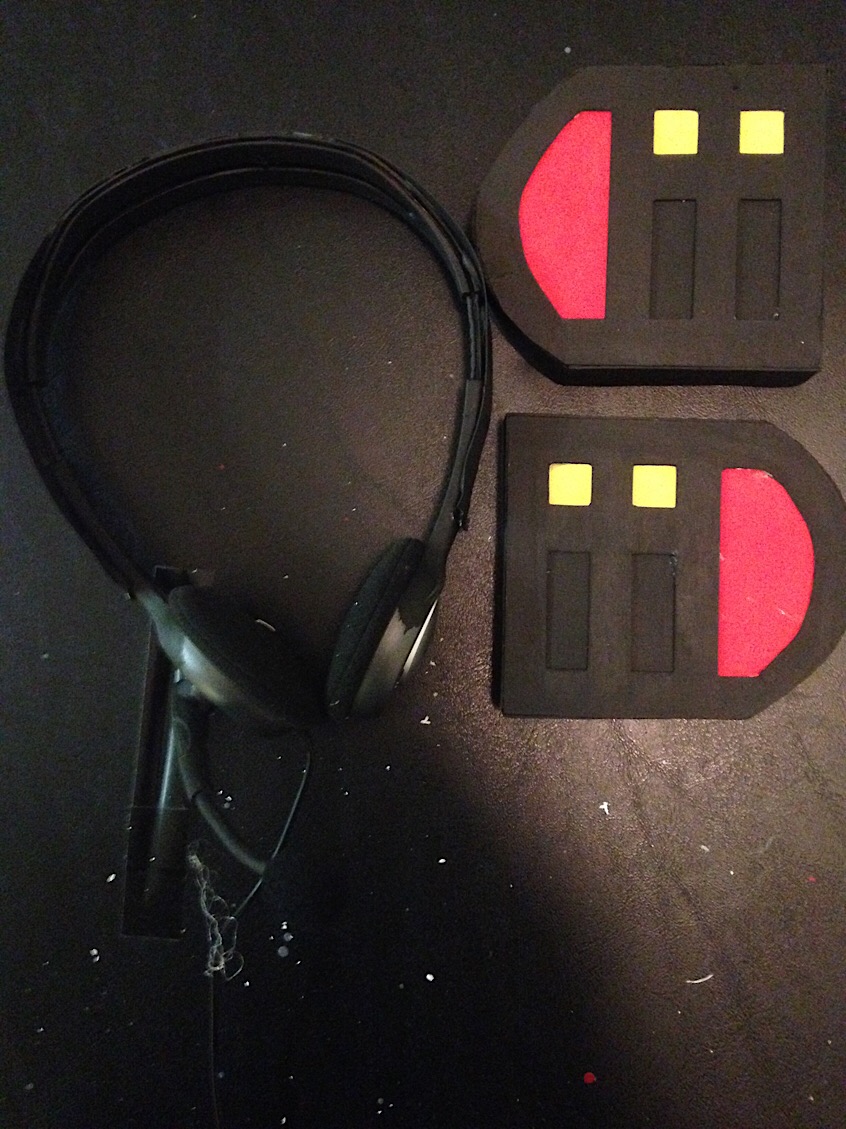
- Glue piece 1a to the side of the styrofoam board without the ear piece cut.
- Glue piece 1b on top of piece 1a, aligning the cut-out shapes accordingly.
- Glue piece 1c to the side of the styrofoam board with the ear piece cut.
- Glue the pieces from step 2 on the matching sides of the ear piece.
- Use the plastic tape to smooth out the edges and corners of the headset piece. Afterwards, coat the tape in a layer of black paint.
- Repeat steps 1 through 9 for the second headset piece.
- Glue each headset piece to the matching side of the headset.
- Measure the length of the headset’s band from ear piece to ear piece. Cut out a poster board piece with this length and color it black, then glue it on the headset band.
- Cover the entire headset in clear coat acrylic paint for some gloss.


And voila, you’ve discovered a new recipe! With a green twin-tailed wig you’re now ready to hit the streets as virtual pop diva Hatsune Miku! The fun part about this is that you can use the same approach for other Vocaloid characters like Kagamine Rin and Megurine Luka, or even for D.Va from Overwatch!
Did you find this tutorial useful? Do you want to see more step-by-step cosplay tutorials? Let us know in the comments!