

After the SIM Registration Act was passed in late December, telcos such as Smart soon made portals that aimed to make registering SIMs of every Filipino easy.
So, how easy is it really to register your SIM? Well, if you haven’t yet, Smart’s SIM Registration is quick and hassle-free, whether you’re a prepaid or a postpaid user. This means you won’t have a hard time registering before the deadline this June.
In case you’re still apprehensive and have yet to register your Smart SIM, don’t worry as registration won’t take long. And in case you need a guide on how to register, here’s a quick step-by-step guide along with more info about each step.
Smart SIM Registration for Prepaid Users
First off though, here’s the guide for prepaid users. Unlike postpaid users which have their info already with Smart, prepaid users will need to upload more requirements and information. Though these requirements are easy to get.
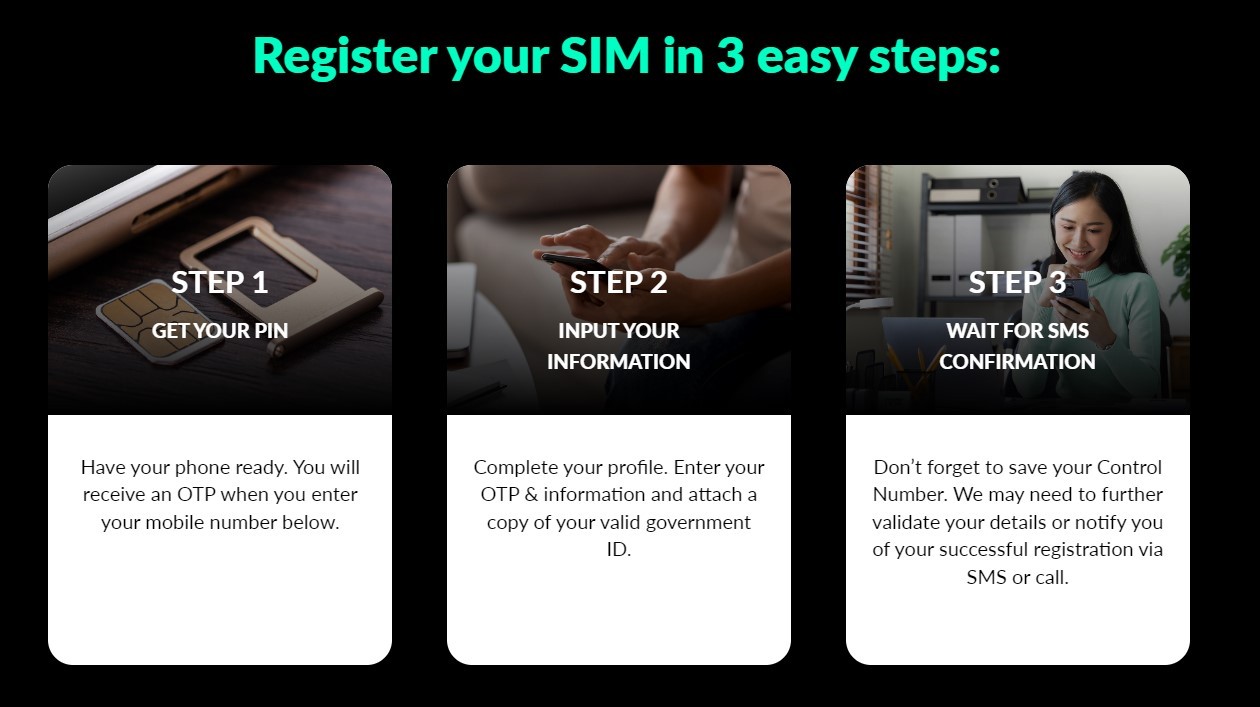
Step 1: Visit the Smart SIM Registration Page and Ready your Phone for an OTP
To begin your registration, you’ll need to visit the registration page. Then, you’ll be asked to input your Smart mobile number.
After this, you’ll receive a One-Time Pin that you should enter. Once this is done, you’ll get to the Info page.
Step 2: Input Info, Including a Valid ID
Next, you’ll be asked to enter your address. On Smart’s page, the address fill-up section is split into multiple pages which is nice if you have a particularly long or complicated address.
Once this is done, simply upload a Valid Government-issued ID. Once the upload is done, you’ll get your face scanned by the site (other registration might not have this face-scanning option). In case the scan doesn’t work, you can also upload a selfie – great for those who might be having trouble with scanning at their home or through their phone.
Step 3: SMS Confirmation + Promo
Once the ID and face scan (or selfie) are uploaded, you’ll be asked to review all your details. Again, this is another nice inclusion as you can check if you made any typos in the address fill-up.
After you submit the details, you will soon get an SMS confirmation that the registration is successful.
As a bonus, Smart prepaid users will get 3GB of free data after successful registration!

Smart SIM Registration for Postpaid Users
Meanwhile, SIM registration for postpaid users is quick and easy as there’s pretty much just one step.
Step 1 (and only step): Text YES to 5858
Because postpaid users already have their info with Smart, users simply need to text YES to 5858 to confirm their previously submitted details. After this, users will get a text message with their successful registration.
While the news over the past couple of weeks might’ve made some users worry, there’s no need to as Smart’s SIM registration is hassle-free, whether you’re a prepaid or a postpaid user.
For more info on SIM registration, visit the official FAQ page.