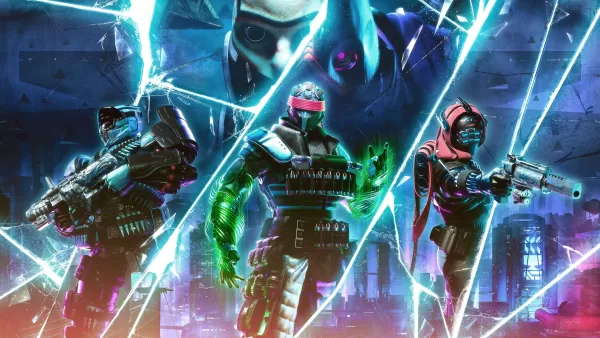
Bungie’s sci-fi first-person action MMO shooter is nearing a decade in its lifespan. Aside from the usual problems that come with a constantly online live-service game, it’s still impressive on both a technical and visual level. Even modern rigs would sometimes have trouble trying to run the game comfortably. Here are the best Destiny 2 settings you can change to improve framerates and maximize your performance.
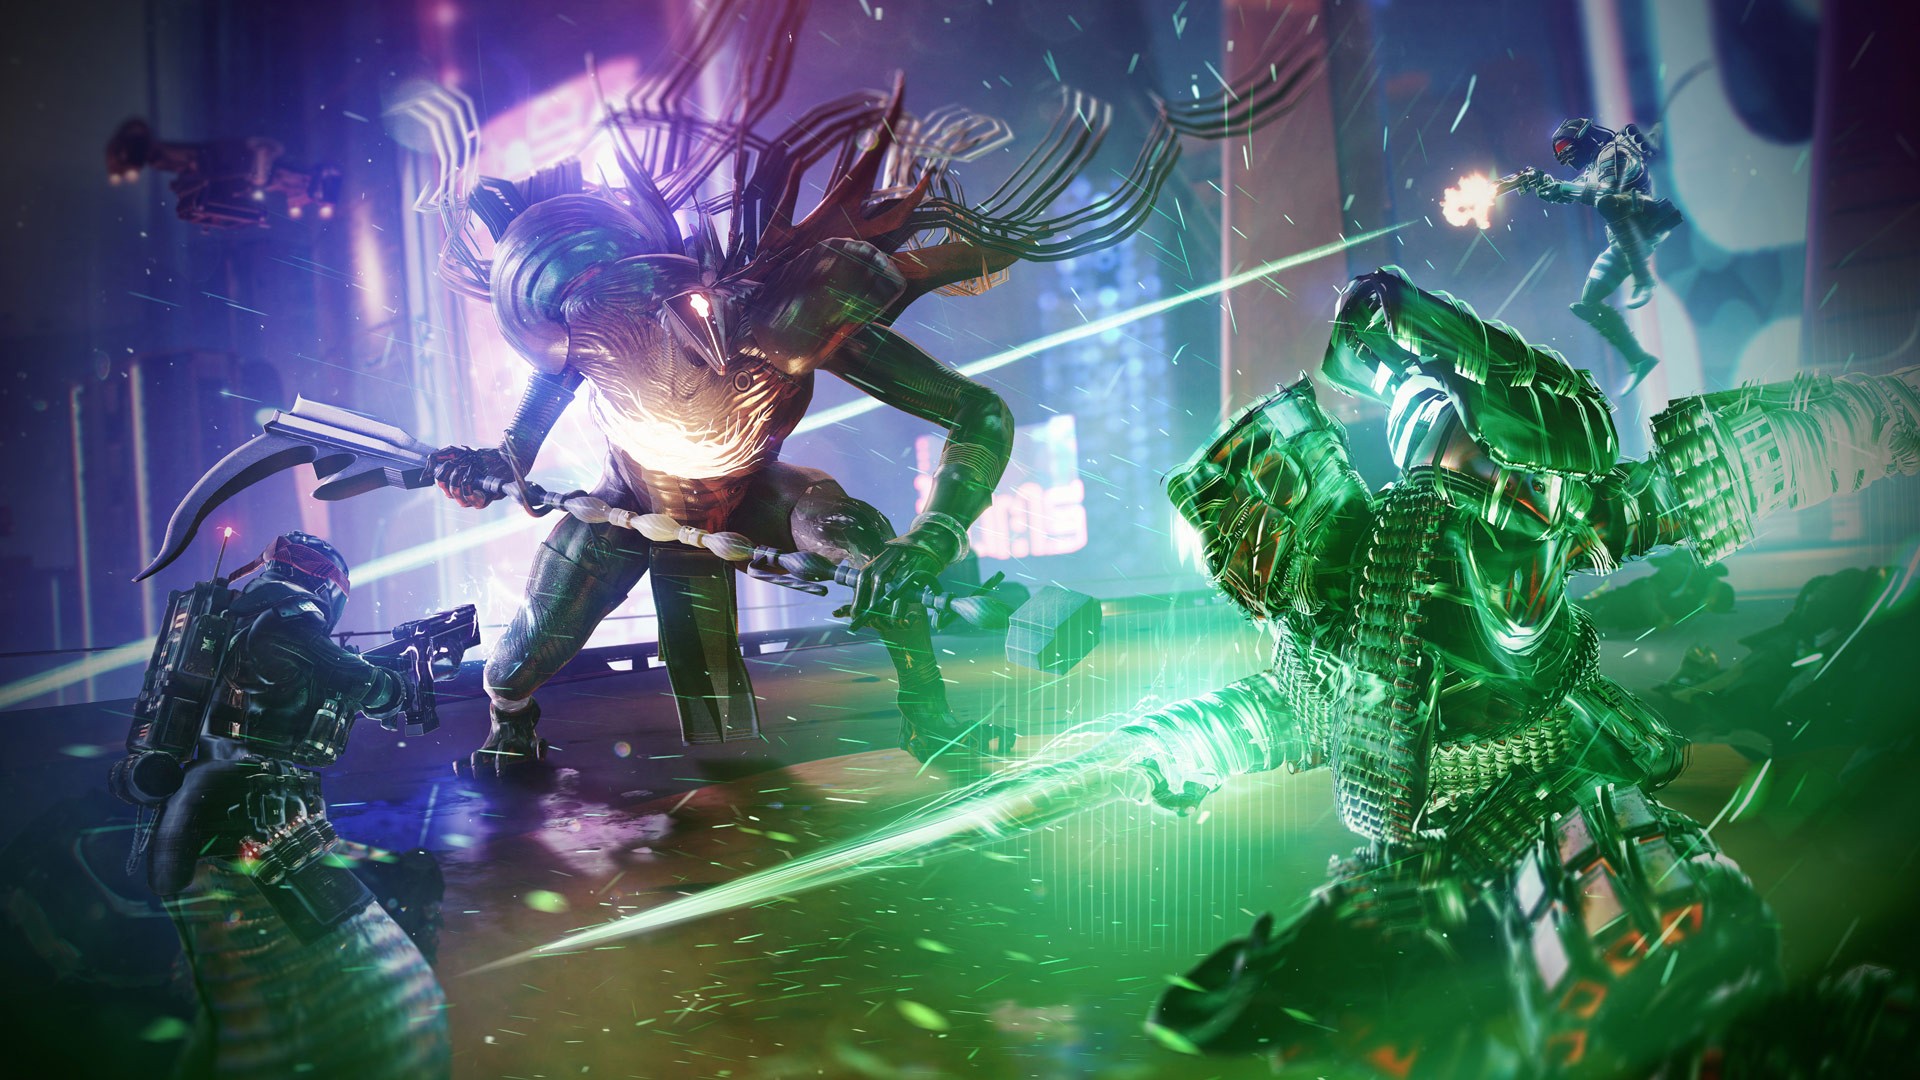
Destiny 2 was launched all the way back in 2017 first on PlayStation and Xbox consoles with a PC version coming at a later date. Despite its age, Bungie still manages to pump out a visually striking game backed up by an excellent art style and impressive texture work. It makes Destiny 2 a timeless looker while keeping up if not, surpassing a lot of its competitors over the years.
For the purposes of this article, I’ve been using an Asus ROG Flow X16 gaming laptop that contains a Ryzen 9 6900HS with Radeon Graphics and a GeForce RTX 3080 Laptop GPU. I also connected a ROG XG Mobile eGPU that contains an AMD Radeon RX 6850M XT.
Before anything else, make sure you turn on Destiny 2’s in-game FPS counter. It’ll show up on the upper-right part of the screen. It’s just a good way for you to monitor how your setup is holding up in crowded or high-action moments in the game. It’s a blink and you’ll miss it counter so don’t worry about being distracted by it during regular gameplay.
Best Destiny 2 Settings
- Resolution: 1920 x 1080
I initially made the unconscious mistake of running Destiny 2 on 4K in the first few weeks of booting it up on my setup. I was only made aware to bring down both the native resolution of my laptop and the game itself when I complained to a friend of mine that the fans were sounding like a jet plane every time I play. If you have a rig that can handle a higher resolution, then go ahead. But as with every other modern game, a 1080p resolution is more than enough to provide a clear enough image while not being too demanding on your setup. - Vsync: Off
It’s just better to have this turned off with any game you play on PC. Having VSync off lessens the chances of input lag and lower framerates since the game is not trying to catch whatever refresh rate your monitor has. The only time I’ll ever recommend turning this on is if you experience severe screen tearing. - Framerate Cap Enabled: On (Framerate Cap: 170)
I opt to cap framerate on a game like Destiny 2 due to its demanding nature on the rig. Since my screen’s refresh rate can only go up to 165 Hz, I don’t need to overwork my GPU and CPU to provide more frames than necessary. This is just a nice way to preserve your setup’s processing power to avoid complications like overheating on longer play sessions. - Field of View: 105
This is the maximum value for the FOV option in Destiny 2. Some of the game’s gun models can be huge and the environments themselves deserve to be appreciated in their full glory. While a higher FOV does somewhat affect performance, it’s so minimal that it’s barely worth noticing. I promise your screen and models won’t look as funky and stretched out like it usually will be when cranking up FOV values in other FPS games. - Anti-Aliasing: FXAA
FXAA slightly lowers the quality of the image in favor of a higher framerate compared to the SMAA setting. If your rig can handle the latter, then why not? Going for the FXAA setting is again, an extremely negligible difference and you won’t notice a “lower image quality” unless you’re really actively looking for it. - Screen Space Ambient Occlusion: HDAO
Similar explanation to the Anti-Aliasing setting, HDAO slightly sacrifices image quality in favor of more FPS compared to going for the ‘3D’ setting. - Texture Anisotropy: 8x
This setting is one of the more irrelevant ones. The difference between lower values and the maximum 16x is barely there so it’s really just up to your preference. I usually like to preserve my setup’s processing load so I just lowered the Texture Anisotropy to 8x as more of a peace-of-mind type of situation. - Texture Quality: Medium
As previously mentioned, Destiny 2’s art style is already excellent enough that even lowering the Texture Quality won’t be as big of a hit. This is a fast-paced shooter so you really won’t have time to just stop and look at every inch. Destiny 2 looks great in motion so a lower texture quality setting won’t be too much of a miss. - Shadow Quality: Lowest
In every game, shadows usually take up a huge chunk of the processing power. Lowering this setting is usually a recommended thing to do especially for multiplayer games. If you’re playing a single-player experience and want to be fully immersed in the world, then that’s a different conversation. - Depth of Field: Low
Lowering the Depth of Field increases the visual clarity of what you’re looking at. I like to turn this all the way down to increase visibility in both PvE and PvP modes especially when aiming down sights. - Environmental Detail Distance: Low
You can play around with Low and Medium settings for this. Destiny 2 may be a massive game but it never has maps with the likes of Battle Royale games where you need to look at something extremely far. Save your setup the hassle of trying to render details in faraway areas. - Character Detail Distance: Medium
Medium is a great middle-ground for this. Destiny 2 has fantastic character models for the different personalities and enemies you face. It’s a similar mindset to the Environmental Detail Distance. You want to save the hassle of rendering unnecessary details from afar but you want to conserve how good they all look. It especially helps when you’re trying to hit an enemy’s critical spots when you can clearly see their model clearly.
- Foliage Detail Distance: Low
Foliage is always a difficult thing for any setup to render at a high quality. While Destiny 2’s environments look jaw-dropping at times, you really won’t notice that a bush that is a couple of hundred meters away is slightly blurry. There are just so many more things to focus on in the heat of the gameplay of Destiny 2 and the plants are definitely not it. - Foliage Shadows Distance: Medium
This is basically the same explanation from the Shadow Quality setting. You don’t need to see a high-quality dark spot under a tree from far away. It’s unnecessary and I promise you won’t notice it. - Light Shafts: Medium
Destiny 2’s lighting is absolutely fantastic. There is no harm in setting the Light Shafts all the way to High. It’s barely a dent in your framerate. I just like keeping it Medium for processing power preservation purposes. - Motion Blur: Off
Let’s be honest unless it’s an extremely immersive single-player experience, do you really keep the Motion Blur setting on in your multiplayer games? Alongside turning on subtitles, Motion Blur is always the first setting I change to “Off” in any game I play. - Wind Impulse: Off
There is practically no change to the FPS when turning Wind Impulse On or Off but I just like removing it for more visual clarity when in motion. - Render Resolution: 100%
This should always be 100% in any game. There’s really no reason why it shouldn’t be. It doesn’t affect framerates that much so you don’t have to worry about it. - Chromatic Aberration: Off
This basically makes the area surrounding your reticle clearer compared to everything else on the screen. It’s a very minor tweak so it’s up to you if you want to turn it on. I just prefer that it’s off. - Film Grain: Off
It’s always annoying when any game defaults this setting to on. It just gives the game a minor “vignette” filter. Destiny 2’s colorful visuals have so much personality and they deserve to be seen in their full glory. Just turn this off with any game you play.
And there you have it! The best Destiny 2 settings that prioritizes framerate while preserving unnecessary excessive extra work from your rig. It’s worth noting that all of this is still up to your personal preference. Your setup might be infinitely better than mine so you’ll have more freedom to bump a few of the settings up. This guide is really for those who don’t really own a superpowered PC rig. Good luck out there Guardians!