

Ok so you’ve gotten all the necessary tools needed to start you off in the hobby and you’re itching for some painting! (If not, go back a bit and check this article). As much as I want you to grab a brush and make that first stroke on a mini, we still have this all-so-important step in preparing the figures first! And believe me; they are as important as you might think.
Again, like I said in the previous article, I am by no means a guru or an expert in this field as this is me actually going through the whole process as a complete and total noob documenting my work… So feel free to chime in on the comments section for any additional stuff that you would like to share. Constructive criticism is highly appreciated. So with that let’s start!
I usually follow this 4-step process when preparing my miniatures:
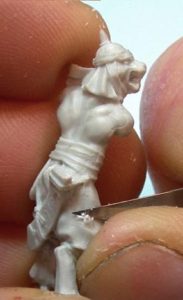
Image from fortressat.com
- Removing Flashes
Flashes are the excess plastic that is left on the miniatures after production. In some cases, like figures which came in sprues (GW models) that need to be assembled will most likely have those bits of plastic as well. You can easily remove this using a cutting tool like an X-Acto knife or a regular cutter. Be careful though as you might remove something unintentionally! After removing the flash you might want to pass the area a bit using a filing tool or sandpaper.
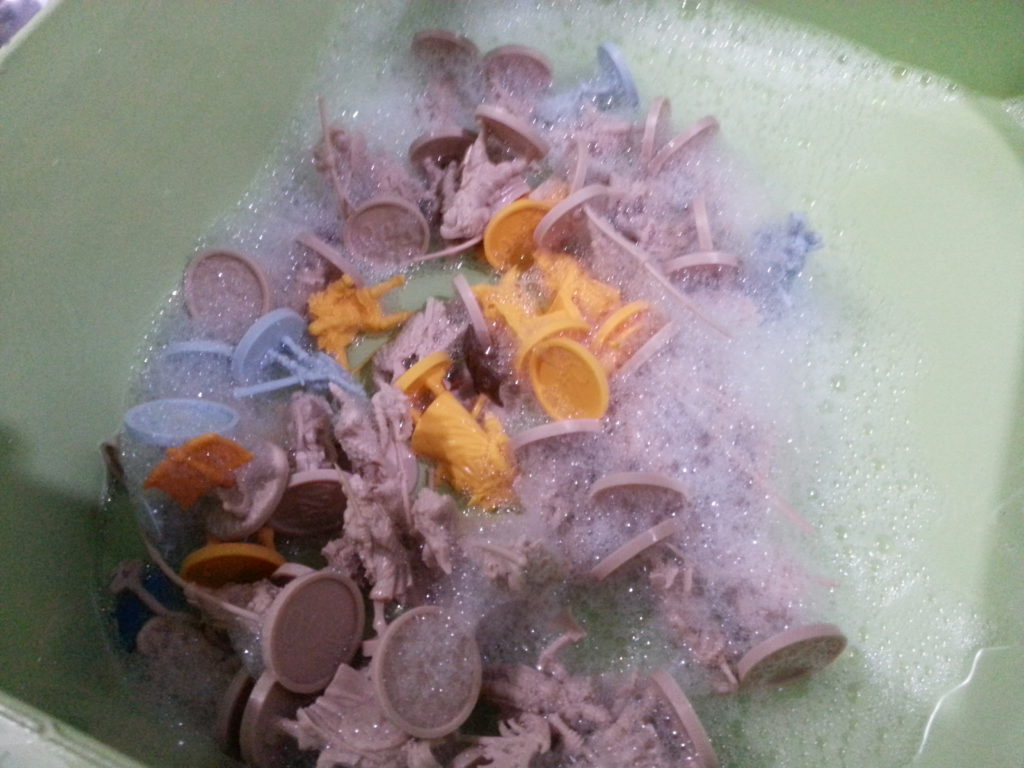
- Cleaning the Miniatures
Aside from flashes, some oils or chemicals during the manufacturing process of the figures might be present. To remove this just put the minis in a bowl with water and some dishwashing soap. Additionally, you can also use an old toothbrush to scrub off the hard-to-reach-areas (see what I did there?) then rinse it afterwards.
- Straightening the Figures
Some of your figures might be bent out of shape, especially on some boardgame minis with long weapons or flag-bearers. In some rare cases the base of the figure might also be bent post-production causing them to rock when standing. To remedy this you can this 2-bowl method; first dip the affected mini in hot water for at few seconds, then removing it afterwards. At this point you can adjust the bent areas to your liking and then dump them in another bowl this time with cold water for another few seconds. This hot-and-cold technique should naturally revert them back to its original form. For a more detailed explanation check out the PairOfDice Paradise video above.
- Applying the Primer
Make sure the figures are completely dry when doing this! Why put primer you say? Since acrylic paints don’t normally adhere well on plastic, it needs some medium for it to stick to. And guess what? Priming the figure does the trick. And not only that, priming can also help to reveal some of the more intricate details on the miniatures, making it much easier to paint.
Normally you can choose between white, black or grey colors when priming. It is usually based on personal preference if you want the final product to be darker or lighter. For me, I personally tend to choose a grey primer spray paint, in which the result is somewhere in between.
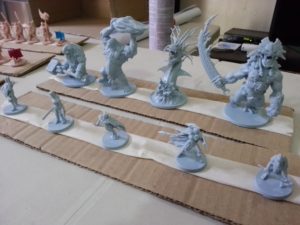
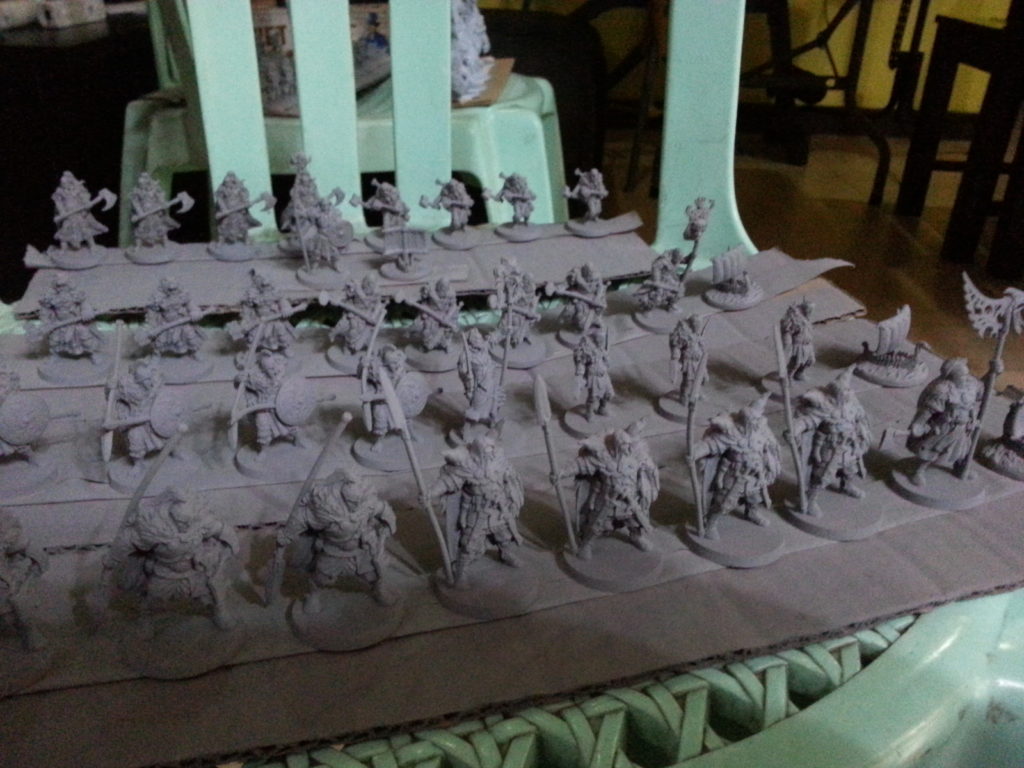
Before priming, I line the figures up in a strip of cardboard with some tape in the middle then take them to the great outdoors (or garage in my case… Also be mindful of pets!).
When using a spray can primer, don’t point and spray directly on the intended targets. Instead, do a sweeping motion from left to right (releasing the trigger afterwards then repeat from the left again) at about 8-10inches in distance, rotating the cardboard if needed. This helps to avoid getting concentrated blots or globs on the figure, as well as to not run into the unintentional accident of having to apply to much or too thick primer. To make things a bit simple, imagine that you are “powdering” the miniature as you go from left to right, just “passing through” the model. It might take a few passes, but eventually you’ll notice the figure to change color.
Lastly, don’t worry if there is still some of the original color left on the figure. As long as you put enough coating, it’s enough that paint will naturally stick to it. You can check by touching the figure (after it’s completely dry of course), noting it’s now slightly-rough surface. If you felt that texture, then you’re good! Keep in mind that generally you only want to put a light amount of coating, because you will still have to paint it afterwards with your intended colors.
To give you a better idea on priming (much more than I normally can describe in this article) – here’s a good video by TheApatheticFish on how to prime figures properly:
Thanks for reading and click here for Part 3 – Base Coating, where we actually start hand-painting our beloved minis! See you soon!