

Finally, we get to the part we’re most excited about… Actually hand-painting our minis! First off, congrats on getting this far and I’m pretty sure this is the point of no return now for you right? I hope you will find this experience very much enjoyable like I did the first time I placed some paint on plastic.
Now for those who just joined us you might want to check part 1 and part 2 first. Again, let me remind you I am by no means a painting sage and this is me just getting a crack at the hobby and sharing with you my experiences; so feel free to deviate from my ways as you see fit, you might stumble into a technique that’s better than mine!
If you’re all set then let’s get painting! Make sure to cover your work area with old newspaper by the way, unless you don’t mind getting paint on your table!

BASECOATING
The first step in the painting process is a technique called basecoating which is, simply put, the first layer of paint you put on your miniature after you prime them.
This is the point where you pick a color you want and paint whatever area in the mini you wish that color to be. Simple enough right? Now here are a few basic pointers when applying paint.
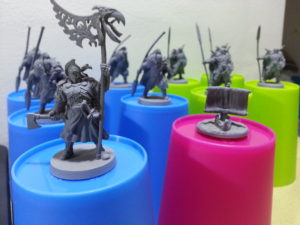
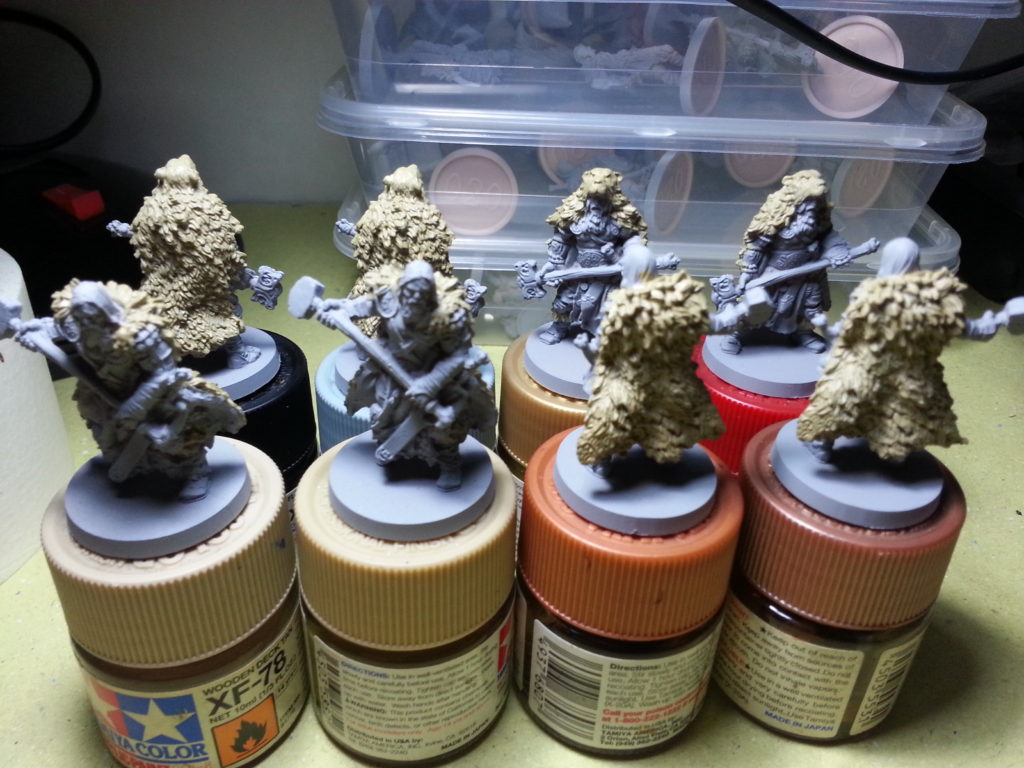
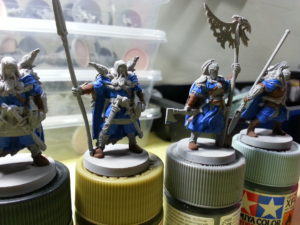
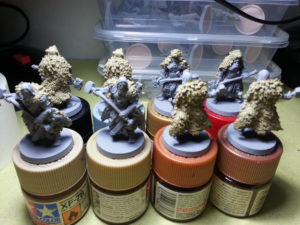
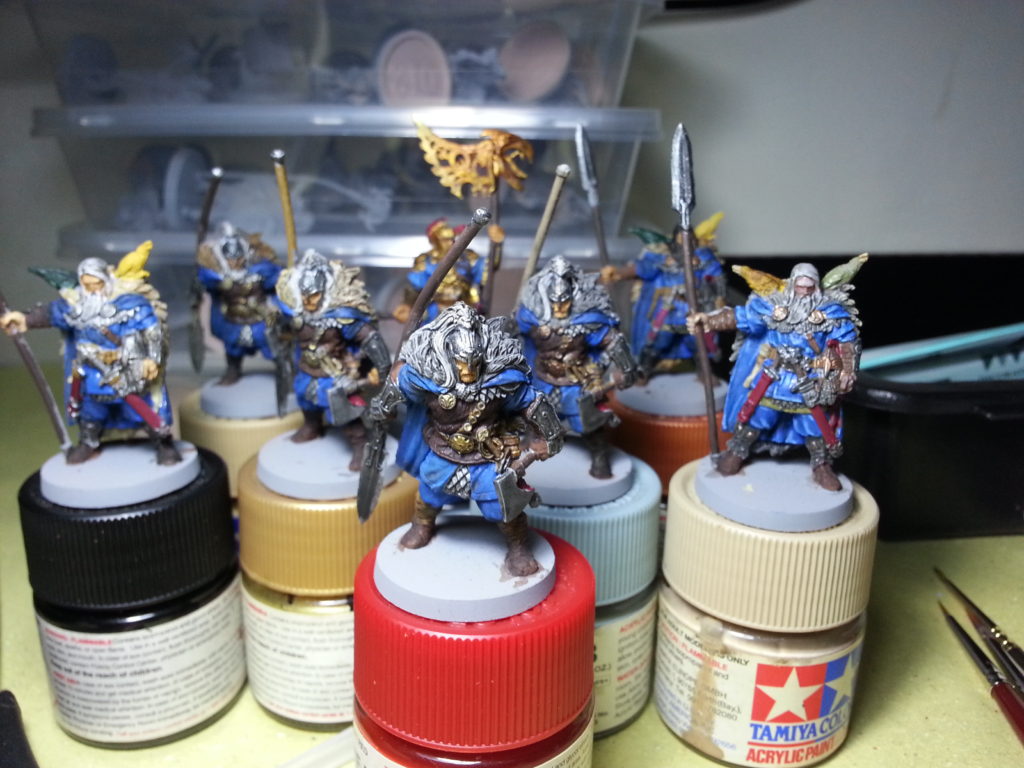
- Mount your minis! – Any item that you can grasp while painting the mini will do. Place them in a small plastic cup or in my case discarded paint bottles, to keep your fingers off the figure while painting.
- Thin your paints first! – Get a small amount of paint, put it in your palette and mix it with a bit of water at a 2:1 ratio (2 parts paint, 1 part water). Go for that “melted ice cream” consistency that I keep reading on some forums. Check the video above by Corvus Miniatures.
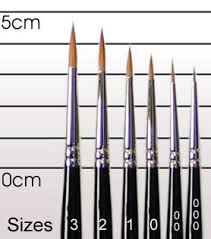
- Choose a brush size that is comfortable to you – Generally I use a 002 brush for basecoating but you might find it better to use the smaller-tipped brushes on some parts. It’s really up to you.
- Place a small amount of paint on the tip of the brush – Don’t cover the hairs entirely with paint, a small amount at the end of the paintbrush will do. When you think you have too much on your brush, you can just wipe it off in a twisting motion in your palette to give a nice tip at the end.
- Choose an area to start with – It can be anything from outer clothing, skin, cloaks etc… Just paint that area and try to get a good and even coverage, going with the features of the area and not against it (as the paint might bunch up on a specific part). Check out the video by SDub below for a better idea on how to basecoat.
It’s ok to hit an unintended part in the figure; you can always cover it afterwards. If you’re painting an army, a systematic approach would be painting a specific part first (like their armor for example) then going through that same area on all of the similar minis.
- Don’t re-apply paint on areas that are in the process of drying! – In doing so it might leave a residual, uneven texture. Make sure that the paint is completely dry first.
7. After applying your first layer of basecoat you can either put a second layer (or even a third layer) of coat or move to the next step, which will be explained in the article following this.
Keep in mind that although these are some nice tips that I have encountered/discovered/experienced, there are actually no fixed rules in basecoating. You might find it more comfortable to start with the smaller parts then going for the bigger ones at the end, or vice versa. Minis vary in size, shape or form so approaching on how to paint the figure can be subjective at times. Really, the best way to learn from this hobby is to actually just wing it and go paint!
See you guys in the next article as we try our hands at highlighting and drybrushing. Till then, keep on gaming!
Part 4 (Drybrushing, Washes, Finishing up)