How to Easily Upgrade Your PS4’s HDD | Quick Step-by-Step Guide
500G of HD space wearing your consoles down? It might be time for an HDD upgrade! We're here to help you with that!

Are you running out of Hard Disk Space on your PS4 with all the awesome games that are being released left and right? Maybe you want to upgrade to a better performing Hard Drive? Well, GOOD NEWS! In case you didn’t know, you CAN upgrade your PS4’s HDD by replacing it with another / better HDD and it’s SUPER EASY TO DO.
Today, we’re going to show you, step-by-step, how you can quickly upgrade your PS4’s HDD!
First off, you need the following things:
- Phillips screwdriver
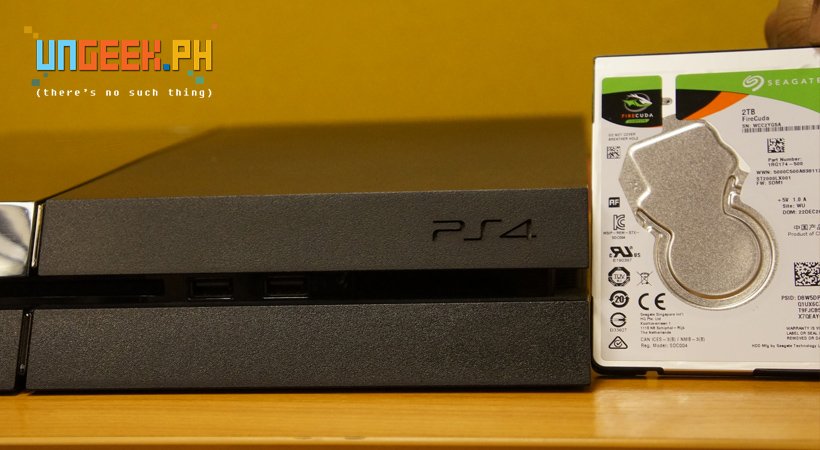
- Replacement HDD that is 9.5mm thick AT MOST
- USB / External Hard Drive for Back-ups
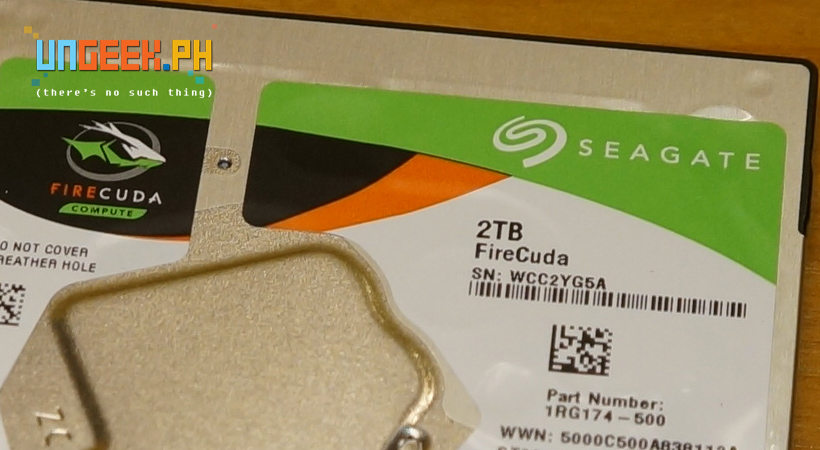
You also need to be sure that the Replacement HDD has a thickness of 9.5mm AT MOST so that it will fit inside your PS4. We suggest the SEAGATE FIRECUDA GAMING SSHD 2TB SATA 6.0 Gb/s. It’s an upgrade to the stock HDD in terms of memory AND performance (and conveniently priced at SRP Php 4,089 for the 1TB and Php 6,246 for the 2TB drive)!
Now that you have your replacement HDD, it’s time to BACK UP YOUR FILES! We understand that your games, save files, videos, and screenshots are important to you hence we highly suggest you do this BEFORE you touch your PS4’s HDD. It’s simple! Just follow these steps:
- Make sure your Back-up USB or External HDD is formatted to FAT32 or exFAT
- Plug this USB / External HDD to your PS4
- Go to SETTINGS > SYSTEM > BACK UP AND RESTORE
- Once there, click the BACK UP PS4 option
- Click OK (Yes, Trophies are NOT part of the back up so it your want to save those, sync them via the PSN by selecting TROPHIES on the Home Screen)
- A summary of whats going to be backed up is given. After it computes, click NEXT
- Once the transfer is done, your PS4 has been backed up!
Note: Unless you have another USB or External HDD that we can use, make sure that it still has at least 1GB of memory free for the Playstation System Software.
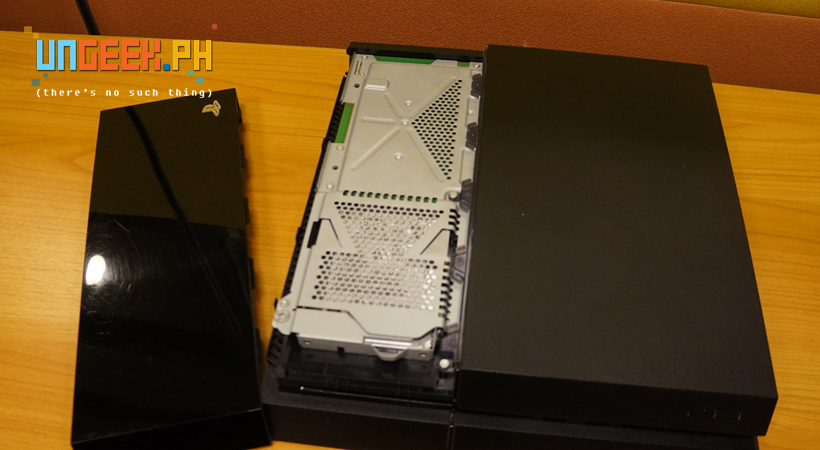
With that done, let’s go to PHYSICALLY REPLACING the HDD. This is for the original PS4 so the process will vary a bit with the SLIM and the PRO.
- Slide off the glossy part of your PS4
- Unscrew the screw with the PS Button Symbols
- Slide out the HDD Tray
- Remove the screws on the side of Tray
- Replace the stock HD with the SEAGATE FIRECUDA
- Screw it back up and reassemble your PS4
https://www.facebook.com/ungeekph/videos/654953261355564/
Now, you need to reinstall the PS4 System Software. Take your USB / External HDD that you used earlier OR a separate USB / External HDD that’s also FAT formatted and make a folder in it called “PS4”. Inside that folder, make a folder called “UPDATE”. Now, download the latest PS4 System Software HERE and place it in the “UPDATE” folder. Once done, Plug your PS4 correctly to your TV and socket, attach the USB/Hard Drive, and attach your controller via USB cable.
You’ll need to start your PS4 in SAFE MODE by holding the power button of the PS4 for about 7 seconds. Then Select “Initialize PS4 (Reinstall System Software)”. It will then start the process of reinstalling the System Software from there.
Finally, you just need to restore everything.
- Log-in your PSN Account/s
- Restore your PS4’s data by going to SETTINGS > SYSTEM > BACK UP AND RESTORE > RESTORE PS4
- Sync your trophies
And BOOM! Easy PS4 HDD Upgrade! Enjoy!